
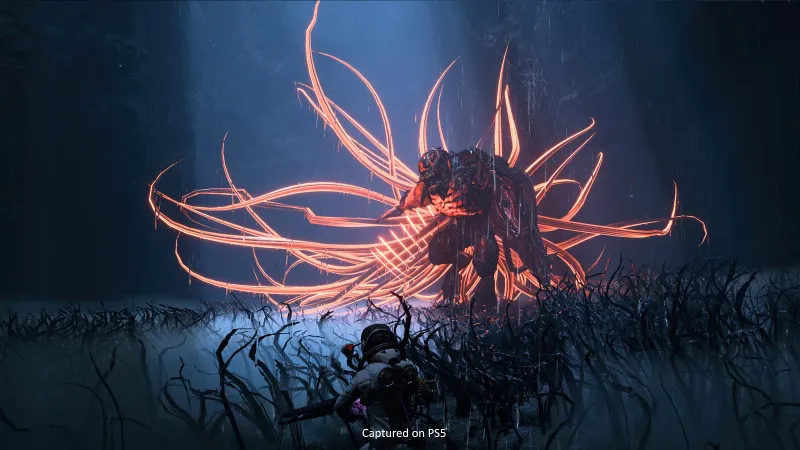
Returnal’s cycles of life and death are challenging, punishing, and sometimes frustrating when you find a run ending due to forces seemingly outside of your control. Like many roguelikes, learning how to operate within the bounds of variance is your best ally. Want to get the edge on the alien lifeforms that dominate Atropos? We have some serious tips for you that should give you the edge when you’re going through Returnal. There’s a lot to take in but absolutely no story spoilers in these tips, though it’s inevitable that some gameplay mechanics and features will be discussed, so be aware of that before you dig in. Let’s go!
Stay Alive
In Returnal, you generally only have your one fragile life to live before being sent back to the beginning. Now, what constitutes the beginning does change over the course of the campaign, but you want to have a backup plan just in case you get ambushed by a giant tentacle monster, get stuck in a lockdown trap battle that destroys you, or just die normally on one of the game’s tough bosses. Returnal has two main ways you can cheat death. One of these is by finding a renewal spot in a biome that you can pay ether to get a “free life.” If you activate one of these renewal spots (found inside areas marked with the blue triangle door), you will be able to come back once after dying at this spot, essentially creating a one-time-use checkpoint. Important note: this spot counts only for the biome that you’re in. Once you leave the biome, the checkpoint is null and void and you will have to find a new one. Again, it only works once and cannot be activated again once you come out of it. These are handy, but not the best method of progression and more of an insurance policy. In many cases, your valuable ether would be better spent unlocking new equipment or other resources.
The best method of resurrection happens on the spot with certain artifacts like the astronaut figurine and the watch. Look for artifacts that say “It will never let you go” or associated language. These will bring you back to life on the spot when you die, which is incredible for taking on difficult boss fights. Using the renewal area, the boss will be fully restored when you crawl your way back, but with these special artifacts you can take a full bar or two off a boss and have an entire life to spare if you run into a beam or a truckload of projectiles. Having the extra life (or two!) provides a serious psychological advantage during these fights as well, as you will be much more relaxed and able to concentrate on those jumps and dashes. A note on a progression run: If you find yourself with a renewal spot locked in, wait until you’re ready to challenge the boss before picking up the resurrection artifacts so that you don’t lose them to an accident.
Another important aspect of survival is to keep upping your life total. Those extra lives look a lot better with a gigantic health bar! Picking up resins (green plus-marks on the map) keeps your health total high, and every three pips you pick up extends your health bar. There are special artifacts that can help get your life total up extremely high that you’ll find over the course of progression, but the important thing to remember is this: If you are getting stuck on a boss, farm the level (and potentially, previous biomes depending on the situation) for all it has to offer in terms of health pickups and extensions. This is a time-consuming process, but it will drastically improve your odds against the harder bosses in the game. Alternatively, if you’re feeling like a pro speedrunning master, you can just go for the next boss you have on tap, but I advise taking the slow and steady route if you have any doubts.
Parasites are your best friend. One of the best parasites you can find early in a run is the one that regenerates your health when it’s low. With proper health add-ons and management, you can get this parasite to start ticking when you have a significant portion of health, allowing you to go toe-to-toe with bosses for ages even while making some errors. Always be on the lookout for parasites, as their benefits are often much better than their penalties.
Get Big
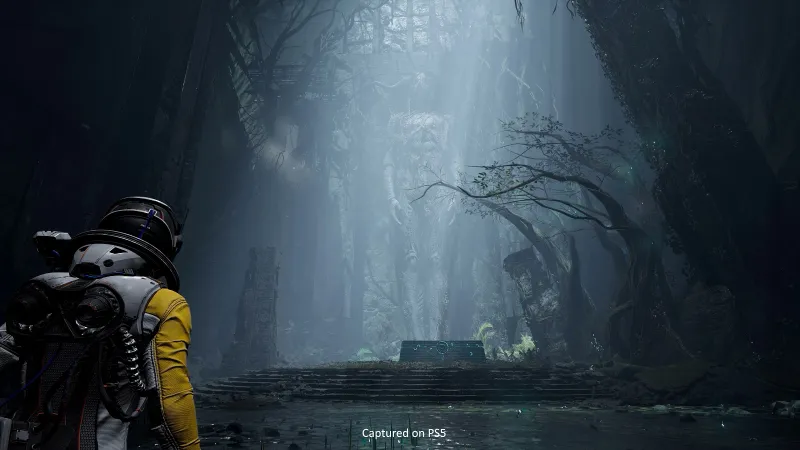
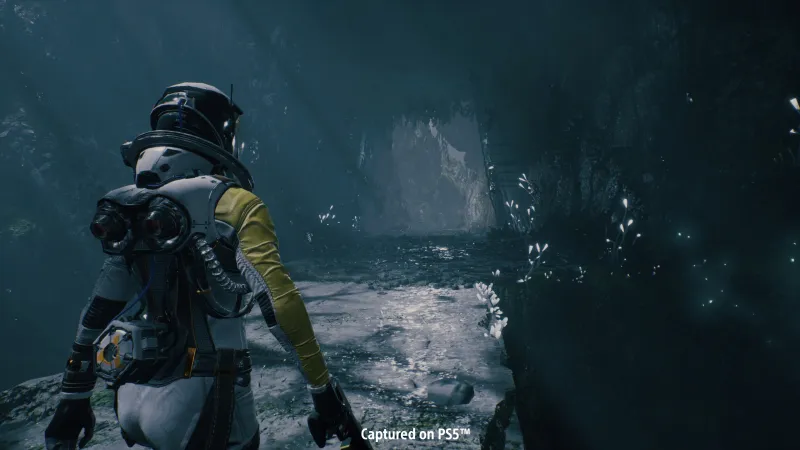
The environment has many mysteries that benefit the curious observer. Fake walls, hidden precipices, and areas that become accessible as you gain access to Metroid-style progression tools are all valuable finds. While the minimap is incredibly valuable for discoveries around you, many additional secrets are hidden off the map. Sometimes you may encounter side rooms that have no map, or a “static” effect that hides it. Look around these rooms carefully every time, and especially pan the camera up. There are often hidden additional secrets to discover. One health node or one chest might not seem like much, but these add up a ton over the course of the run and can make all the difference.
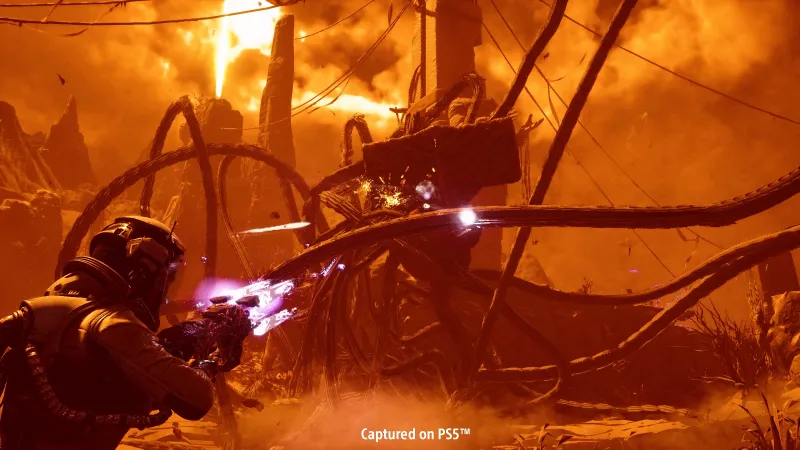
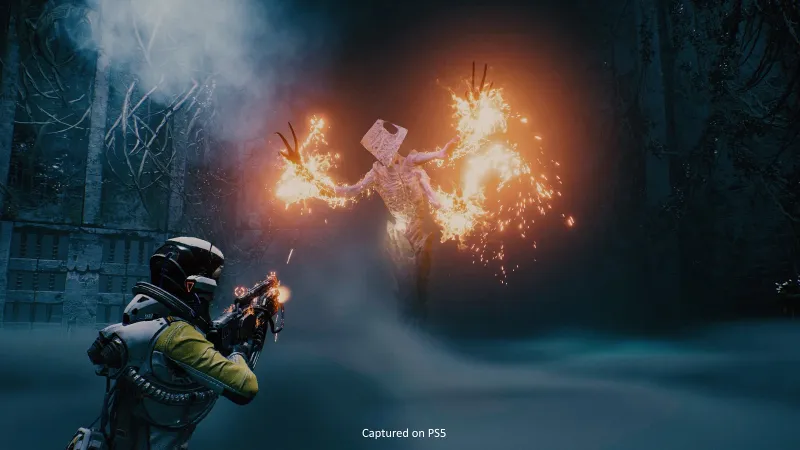
Weapons. Are. Important. As you progress through the biomes, new weapons will enter your potential pool that can then appear anywhere. Some of the coolest ones you won’t get until later, but one in particular you need to keep an eye out for, the Electropylon Driver. At the time of this writing, this weapon is an absolute beast that puts many of the others to shame, as you can stack up the pylon shots to create electric fields. You can essentially stack these fields and create death zones for targets that will get eaten away very quickly by standing in them. This weapon ironically feels incredibly unwieldy when you first get a chance to use it but stick with it and watch even the biggest and nastiest enemies melt down into nothing against it.
An important note about all weaponry is that you do continue to unlock and improve traits for these as you progress, so the added damage potential that comes over time can help a lot during tough bosses. You will still have to be a dodge wizard, but you must dodge a lot less when you have good output, as some of the bosses can be quite spongey!
In many games, consumables are easy to ignore. Do not do that here. Consumables that may seem incredibly worthless can make a huge difference. For example, you may be dismayed to get something that only lasts 30 seconds and makes enemies drop resin. Doesn’t seem that amazing on paper, right? But learn the rooms. Find one that’s going to have a ton of small enemies or a swarm, and just hammer that thing. You could end up with a massive health bar as a result, especially in tandem with other items. Fighting a tough boss and can’t seem to get the dodge timing right? Pop a damage buff that destroys your movement potential but doubles your damage and get some work done! Consumables are extremely valuable, and while that’s obvious for the health packs, make sure you assess how you can use each and every one that comes your way. Always, always, always be on the lookout for the consumable that removes all your malfunctions, as this allows you to essentially open risky chests with absolutely no penalty. In one of the game’s later biomes where enemies can afflict you with malfunctions, this consumable is even more valuable.
Fighting Back
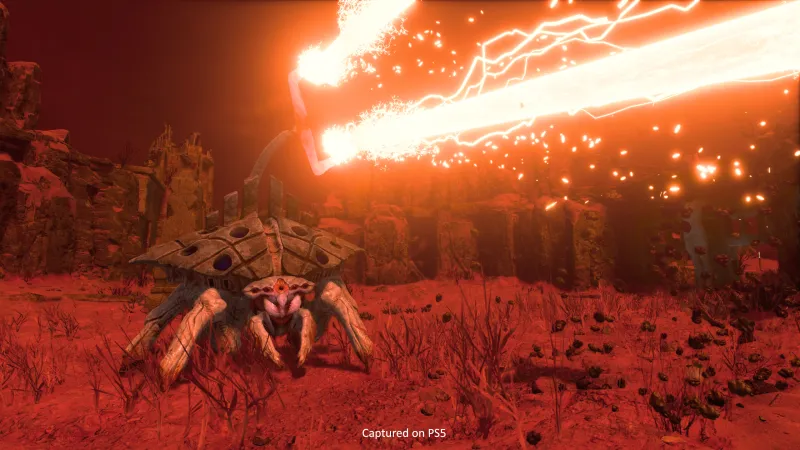
The zones will punish you and losing to a big boss can be devastating, but it’s all about the fundamentals in Returnal. Mastering the timing on dodge and jump is enough to maneuver around even the deadliest bullet-hell patterns, and the invulnerability window provided by the dodge is quite large. While it’s always best to boost your protection and health as high as possible and get the “extra lives” before heading into a boss fight, you can and will overcome these deadly enemies with practice and timing. Once you master the art of the dash, you might even have time to admire the glittering projectile swirls. As you battle fights that seem impossible, try different methods to counter their skills. Shielded foes can be broken with one slash of the sword (which you will find very early on) and some rambling alien creatures can be knocked down or staggered in melee as well. Frustrated by teleporting enemies that can annihilate you in a single blow? Watch for signals right before they strike and get out of the way!
If all else fails, learn the rooms. When you wander into a room that seems too good to be true, like full of health packs and nothing else, determine whether it’s a “timed room” where you might only be able to grab a few of them before they fall into a deadly chasm or a lockdown mini-boss room. With the latter, knowing that the room is going to lockdown, you can game the system and hang out near the door, inching up until the enemy appears and then dash out. Then, you can either battle the enemy without having to deal with the additional “locked in” component or walk away. You will discover a multitude of strategies like this to help avoid that one crucial hit in each run. Because here’s the thing: You never want to get hit.
One aspect of the game we haven’t talked about yet is the adrenaline meter. Essentially, as you kill things and don’t get hit, you begin to get serious bonuses stacking up. If you get hit, you’re back down to zero and must start climbing again. In this way, Housemarque really plays up its fast-paced arcade action roots. Shields and other tools that let you ignore a damage source can be instrumental here, as keeping a high adrenaline level will greatly enhance your abilities and resource acquisition. When you encounter a new enemy, you may not even want to shoot back for a few seconds. Instead, find out what it does, and how to avoid it. Avoiding things is really the essence of the game here, as dishing out the damage with whatever you’re holding is a more mindless endeavor.
One other important thing: Never forget about your alt-fire attack. These abilities can dish out damage orders of magnitude higher than your basic salvos and should be triggered every single time they are up on a boss monster or mini-boss. Avoid alt-fire abilities that put you close to the opponent like the lightning blast or special use alt-fires like proximity mine and try to get ones that allow for a focused burst of damage to cut through harder opponents like butter.
That One Biome (The Abyss)
Late in the game, one of the biomes is not like the others. This biome is especially dangerous, and, depending on your taste for friction, you may wish to loot up completely outside and simply rush through when you get there with as little engagement as possible. This may seem counterintuitive, but because the foes in this area can cause malfunctions when they hit you and/or damage you as much as a boss, sapping valuable health from your attempts at completing this area, discretion can be the better part of valor. I recommend beelining to the side doors (triangle gates) and avoiding as much direct conflict as possible. While all conflict in this zone is not easy to avoid and you may find yourself fighting some interesting and powerful foes, it may be wise to avoid what you can.
Discovery. Death. Perseverance, persistence, knowledge and eventually victory. Have fun with Returnal!
Source: Game Informer How To Survive In PlayStation 5's Returnal